Integrating Giropay Payment Processing in WordPress: A Practical Guide
If your business serves customers in German-speaking regions, you've likely observed distinct payment preferences compared to other markets. Giropay represents Germany's most widely trusted online banking payment solution, and many German consumers expect to see this option available during checkout.
The positive aspect is that implementing Giropay on your website is more straightforward than many anticipate. Numerous WordPress payment plugins have been evaluated by experienced developers to identify solutions that simplify Giropay integration, eliminating concerns about complicated configuration procedures or technical challenges.
This comprehensive tutorial will demonstrate precisely how to configure Giropay payments on your WordPress platform using reliable plugins that have proven effective in practical applications.
Benefits of Accepting Giropay Payments
Whether you're selling physical goods, digital products, or services through your WordPress website, or collecting donations, accommodating visitor payment preferences remains essential. While many customers prefer credit cards or digital wallets, approximately 10% of German online transactions utilize Giropay.
For businesses targeting German and Austrian markets, incorporating Giropay as a payment option represents a straightforward method to potentially increase conversion rates. This German payment system operates through online banking infrastructure, providing merchants with direct bank transfers upon transaction completion. Transaction fees typically remain lower than alternative payment methods.
Additionally, German and Austrian financial institutions employ sophisticated fraud detection systems, offering protection for both merchants and consumers. With these advantages established, let's examine the practical implementation process.
Implementing Giropay Payment Processing
The initial step involves installing and activating a suitable payment processing plugin. Many WordPress professionals recommend WP Simple Pay for its straightforward implementation and comprehensive feature set. This solution functions effectively without requiring full shopping cart systems and imposes no additional transaction fees beyond standard payment processor charges.
Following activation, the plugin's setup wizard typically initiates automatically. Click the 'Let's Get Started' button to proceed.

The first configuration stage requests your license key, which can be located within your account section on the plugin provider's website.

After entering the license key, select 'Activate and Continue' to advance to subsequent configuration steps.
Next, establish connection between your payment plugin and Stripe payment gateway. Stripe supports Giropay alongside major credit and debit cards, digital wallets, and various regional payment methods. Click 'Connect with Stripe' and authenticate using existing credentials or create a new account. Legitimate businesses generally qualify for Stripe account creation.

Following Stripe authentication, configure email notification settings.

Three email notification types typically activate by default: customer receipts, invoice reminders, and merchant payment notifications. Specify the email address for receiving merchant notifications, then select 'Save and Continue.'
The final setup phase involves payment form creation. Click 'Create a Payment Form' to proceed.

Configuring Payment Forms
The Add New Payment Form interface presents multiple template options. Position your cursor over the 'Payment Form' template and select 'Use Template.'

This action opens the form customization screen. Within the General tab, modify form titles and descriptions as needed. Maintain 'On-site payment form' as the form type.

Navigate to the Payment tab and configure the payment mode as either 'Live Mode' or 'Test Mode.' Test Mode enables transaction simulations without actual financial processing, allowing thorough form functionality verification and email delivery testing.

Remember to switch to Live Mode after completing testing procedures; otherwise, customer payments will not process.
Within the Price Options section, establish multiple pricing configurations with appropriate labels. Specify product or service costs, currency selection, payment frequency (one-time or recurring), and related parameters.

Giropay transactions require Euro currency. Ensure 'EUR' selection from the currency dropdown menu within the Amount section.
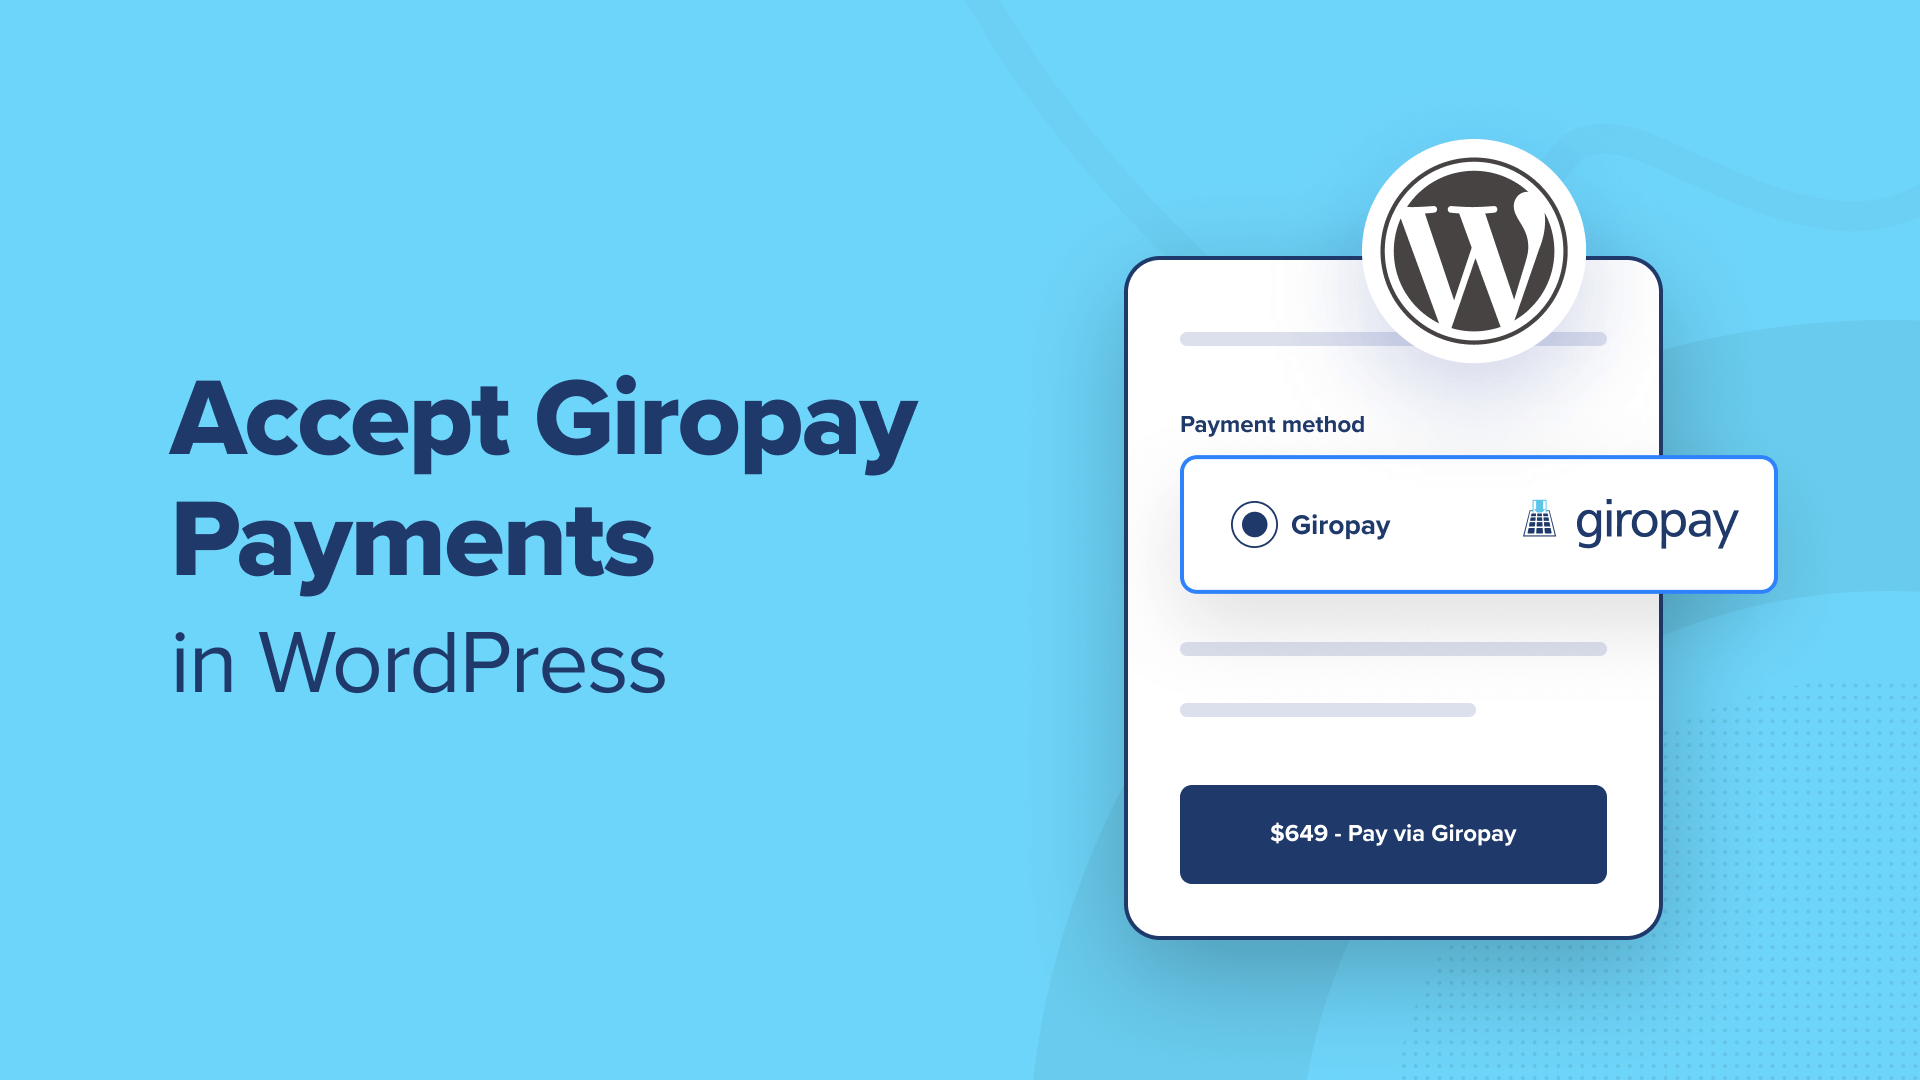
Scroll to the Payment Methods section and select desired payment options for your form. To display Giropay, change the listing filter from 'Popular' to 'All' using the dropdown selector.

Locate the 'giropay' option and activate the corresponding checkbox. You may additionally enable other payment methods such as card payments, bank transfers, or regional alternatives according to your requirements.
Proceed to the Form Fields tab to specify data collection fields for your payment form.