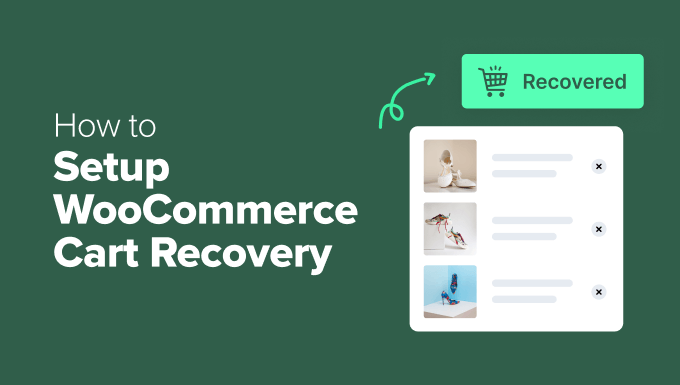
A Comprehensive Guide to Setting Purchase Quantity Limits in WordPress
Effective inventory management often distinguishes successful online stores from struggling ones. Implementing purchase quantity restrictions can transform how your business operates, preventing stock shortages and creating a fair shopping experience for all customers.
Many experienced developers consider quantity limits essential for maintaining balanced inventory levels. These controls help ensure products remain available to multiple customers rather than being purchased in bulk by a few buyers.
This guide will walk you through several proven methods for implementing purchase quantity restrictions in WordPress. Whether you operate a full e-commerce store or handle occasional sales, you'll find practical solutions that fit your specific needs.
Understanding the Importance of Purchase Quantity Limits
Inventory control directly impacts customer satisfaction and business reputation. By establishing purchase quantity boundaries, you guarantee that all customers can obtain the products they want while preventing overselling situations.
Setting maximum purchase amounts creates equitable distribution of your merchandise. This approach allows more customers to access popular items, reduces the risk of inventory depletion, and fosters a balanced shopping environment. The strategy revolves around maintaining operational efficiency while keeping customers content.
Without proper quantity restrictions, a small number of large-volume purchasers can dominate sales, potentially alienating other customers who may not return. These controls also enhance inventory management and ensure broader product accessibility.
Let's examine three effective approaches for implementing purchase quantity limitations in WordPress. Use the following navigation to jump directly to your preferred method:
- Method 1: Implementing Purchase Quantity Limits Using WooCommerce
- Method 2: Establishing Purchase Quantity Limits With WP Simple Pay
- Method 3: Configuring Purchase Quantity Limits Through Easy Digital Downloads
Method 1: Implementing Purchase Quantity Limits Using WooCommerce
If you're exploring purchase quantity restrictions, you likely operate an online store. Most merchants selling physical products require quantity limitations to prevent inventory shortages.
WooCommerce includes a basic 'Sold Individually' feature that restricts customers to purchasing single items per order. You can locate this option within the Inventory section of your product data settings.

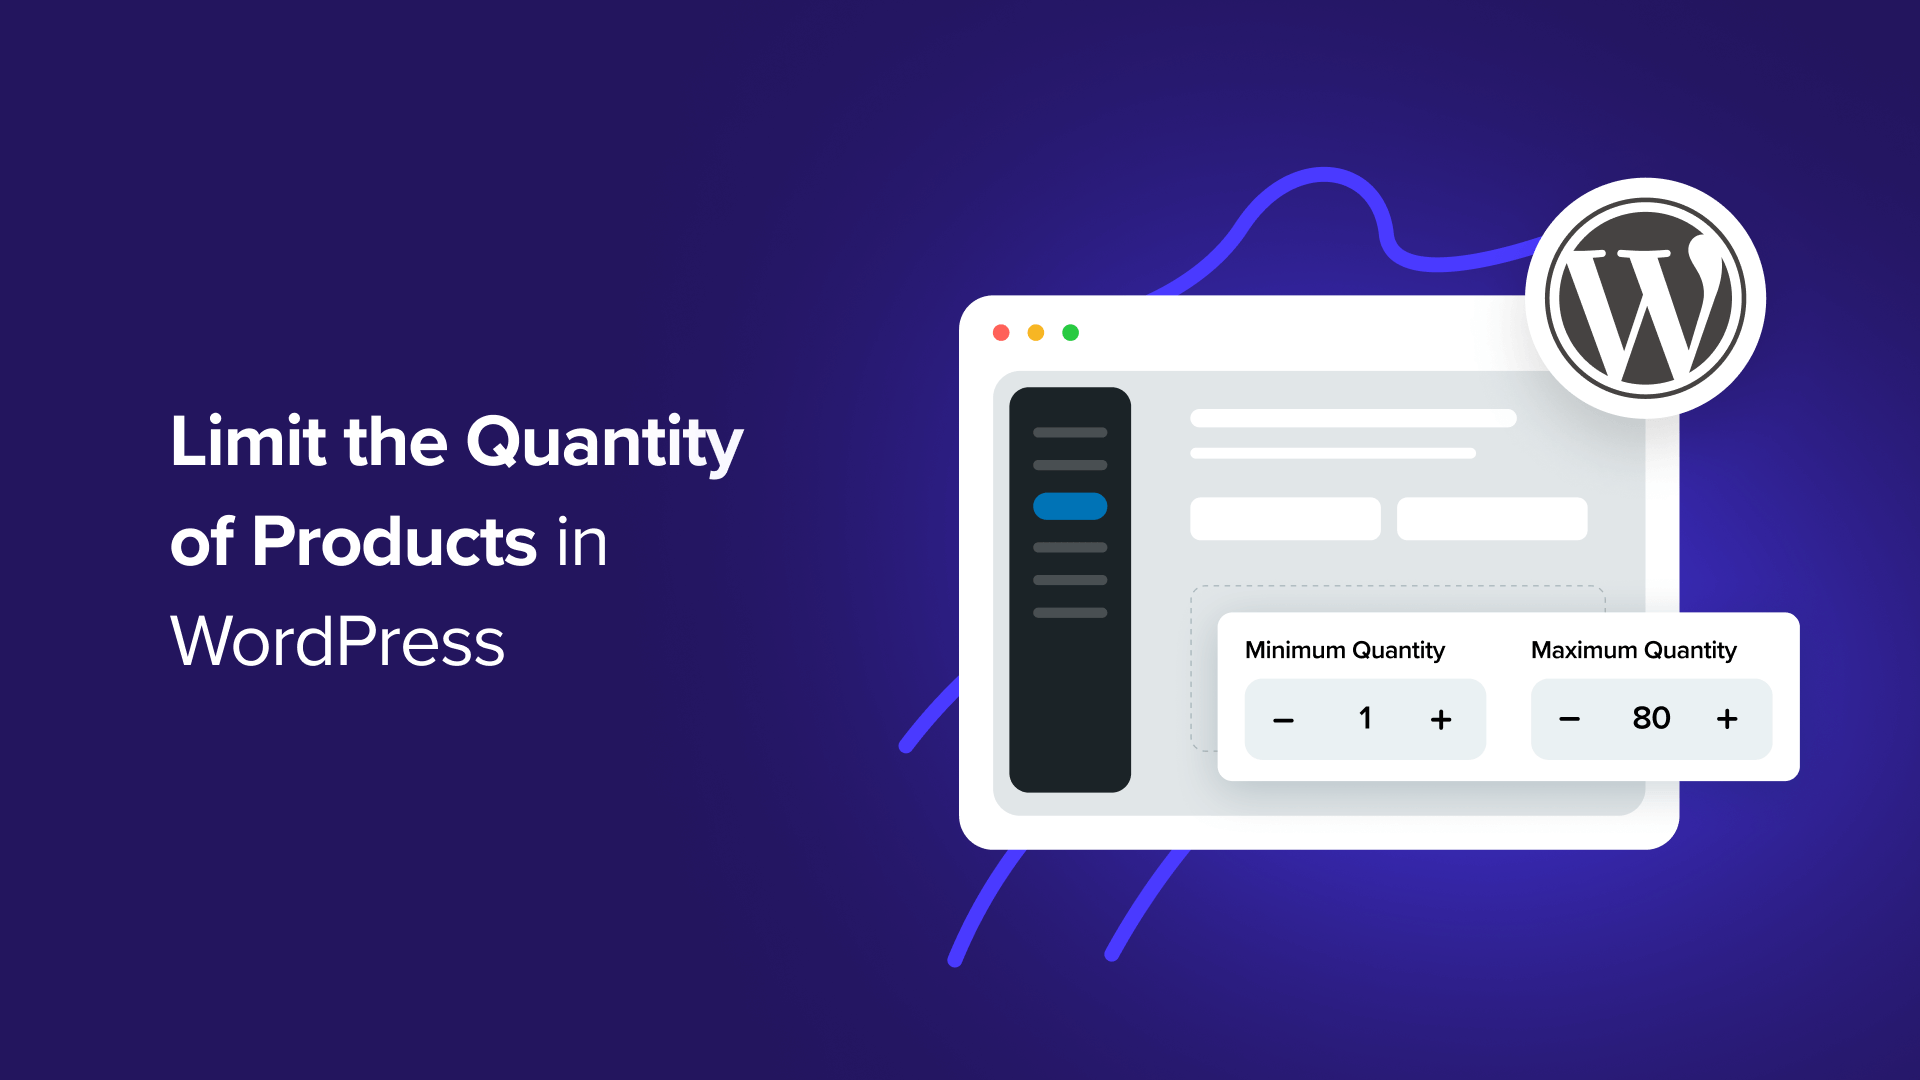
For more specific limitations, such as establishing minimum purchase requirements of 2 items or maximum allowances of 5 items, you'll need additional functionality. The Min/Max Quantities extension provides these advanced capabilities.
This tutorial demonstrates how to configure specific quantity rules using the extension. Begin by navigating to Products » All Products. Select 'Edit' beneath the product where you wish to implement restrictions.

Scroll downward to the Product Data section. Within the General tab, you'll find fields for entering minimum and maximum quantity values.
The 'Group of' setting enables you to mandate specific purchase multiples. For instance, you can require customers to buy items in sets of 5 or 10 units.

After configuring these settings, save your product changes to activate the purchase limitations immediately.
Method 2: Establishing Purchase Quantity Limits With WP Simple Pay
For websites that don't require full e-commerce functionality, WP Simple Pay offers streamlined solutions for product sales. This payment processing tool enables acceptance of one-time and recurring payments without implementing complete shopping cart systems.
Several practical applications demonstrate how WP Simple Pay can effectively manage purchase quantities:
- Event registration: Automatically close registration forms when reaching venue capacity, preventing ticket overselling
- Appointment scheduling: Manage consultation bookings by limiting total appointments to avoid schedule overcommitment
- Membership management: Control community size by restricting total membership signups for exclusivity and manageability
Begin by installing and activating the WP Simple Pay plugin. Upon activation, you'll encounter a setup wizard that guides you through Stripe integration, simplifying the connection process between your payment processor and website.
Select 'Let's Get Started' to initiate configuration. Proceed through the setup wizard to establish the connection between your WordPress installation and Stripe.
Click 'Connect with Stripe' to continue.

You'll need to either create a new Stripe account or link an existing account to your website. Simply enter your Stripe account credentials when prompted.
Select your appropriate account and click 'Connect' to finalize the linkage.

After successfully connecting Stripe, you can create order forms and establish purchase quantity restrictions. Navigate to WP Simple Pay » Add New. You'll discover multiple pre-designed templates available for selection.
While this process works with any template format, this tutorial utilizes the payment form template. Position your cursor over 'Payment Form' and select 'Use Template.'

Following template selection, you'll access the General settings page where you can customize your payment form. This area allows adjustment of titles, descriptions, and form types according to your requirements.
For forms hosted directly on your website, choose 'On-site payment form' under Type. Alternatively, select 'Off-site Stripe checkout' for forms hosted on Stripe's platform.

Proceed to the 'Payment' tab to configure price options and establish quantity limitations for your products.