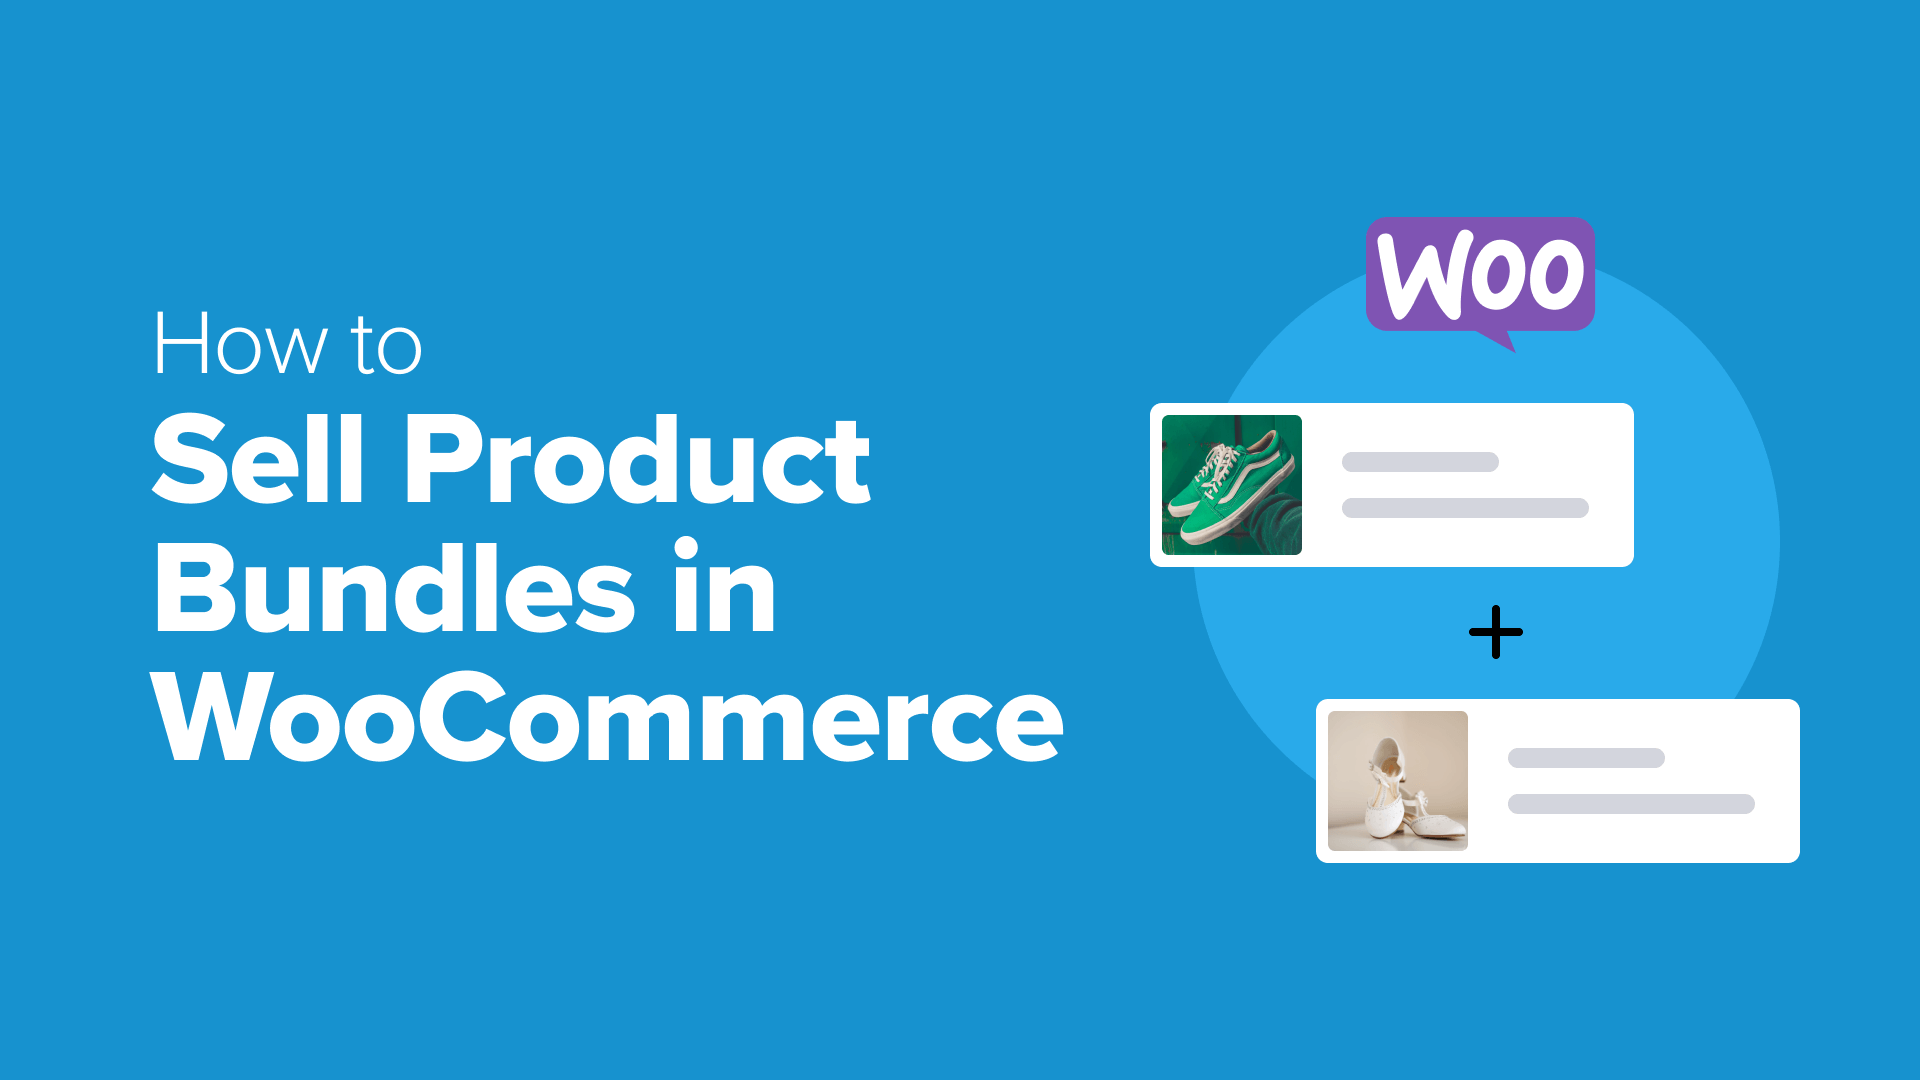
A Comprehensive Guide to Creating Product Bundles in WooCommerce
Product bundling represents a powerful sales strategy for e-commerce businesses. Many successful online retailers implement this approach to enhance customer value while increasing average order values.
Consider how software companies often package multiple tools together. Rather than purchasing each application separately, customers can acquire a complete solution at a reduced price. This method simplifies decision-making while delivering greater overall value.
Bundles work effectively because they streamline the shopping experience. Customers appreciate the convenience of acquiring complementary items in a single transaction, often with attractive pricing incentives.
This tutorial provides detailed instructions for implementing product bundles within WooCommerce stores. Whether you're establishing your first bundle or refining existing offerings, these steps will guide you through the process.
Do Product Bundles Enhance Sales Performance?
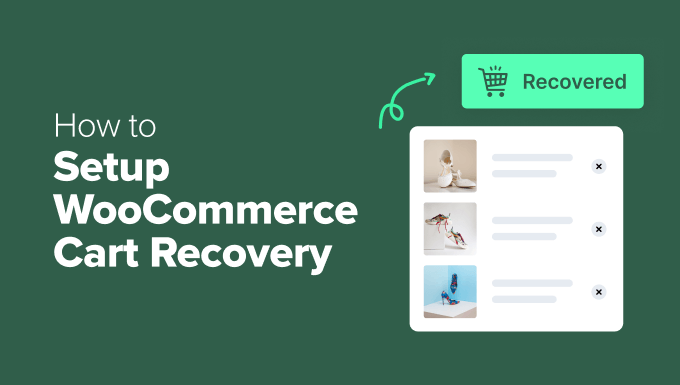
Seeking to improve revenue generation in your WooCommerce store? Product bundles frequently deliver measurable results. This straightforward technique combines multiple items into a single purchase opportunity with discounted pricing.
Research indicates that discount percentages significantly influence bundle effectiveness. Minimal discounts may not sufficiently motivate purchasing decisions, while substantial price reductions often make bundled offerings clearly advantageous for shoppers.
At appropriate discount levels, customers demonstrate strong preference for bundled purchases over individual item selection. This aligns with typical consumer psychology—most buyers appreciate receiving enhanced value for their expenditure.
Beyond pricing considerations, bundle composition affects performance. For premium-priced merchandise, smaller bundles typically yield better results. With more affordable products, larger bundles often generate higher average order values.
Additionally, bundles can improve customer satisfaction. Industry experts have observed that without bundled options, customers might select products that don't fully meet their requirements, potentially leading to returns. Bundles provide multiple solutions within a single purchase, reducing this risk.
Without a bundle, a customer might choose Product A when they really need Product B. This usually results in a request for a refund. With a bundle, they get both solutions and can choose the one that works for them.
Chris Klosowski, President of Easy Digital Downloads
WooCommerce includes basic grouped product functionality, but this feature has notable limitations. The most significant restriction involves pricing—you cannot establish special bundle pricing that differs from the sum of individual product costs.

Since discounted pricing represents a primary bundle appeal, the default grouped product feature may not effectively boost sales. The following method demonstrates proper bundle creation using specialized WooCommerce extensions.
This tutorial utilizes a widely-adopted WooCommerce plugin for bundle creation. The process involves these sequential steps:
- Step 1: Install a Product Bundles Plugin
- Step 2: Create Your First Product Bundle
- Step 3: Configure Bundle Settings
- Step 4: Customize Display Elements
- Step 5: Publish Your Bundle
- Common Questions About WooCommerce Bundles
Let's begin the implementation process.
Step 1: Install a Product Bundles Plugin
Creating effective product bundles requires specialized functionality. Many experienced developers recommend using dedicated bundle plugins that extend WooCommerce capabilities.
These plugins typically offer both free and premium versions. The free version provides basic functionality for testing purposes, while premium editions include advanced features like variable product inclusion and quantity controls.
Premium versions generally require annual licensing. After purchase, you'll typically download the plugin files and obtain a license key for activation.

Installation follows standard WordPress plugin procedures. After activation, you'll typically encounter an onboarding process requiring license verification.

Successful activation typically generates a confirmation message. You can then proceed to the plugin dashboard for configuration.

Step 2: Create Your First Product Bundle
Now we'll create an initial product bundle. Ensure all individual products exist within your WooCommerce catalog before beginning. If necessary, consult documentation on product creation or bulk import procedures.
Navigate to Products » Add New in your WordPress administration area. Assign your bundle a descriptive title and comprehensive description, similar to standard product creation.

Scroll to the Product data section and locate the product type selector. Choose 'Product Bundle' from the available options.

Access the Bundle Options tab in the left navigation menu. Click the 'Add product to the bundle' button to begin selecting items for inclusion.