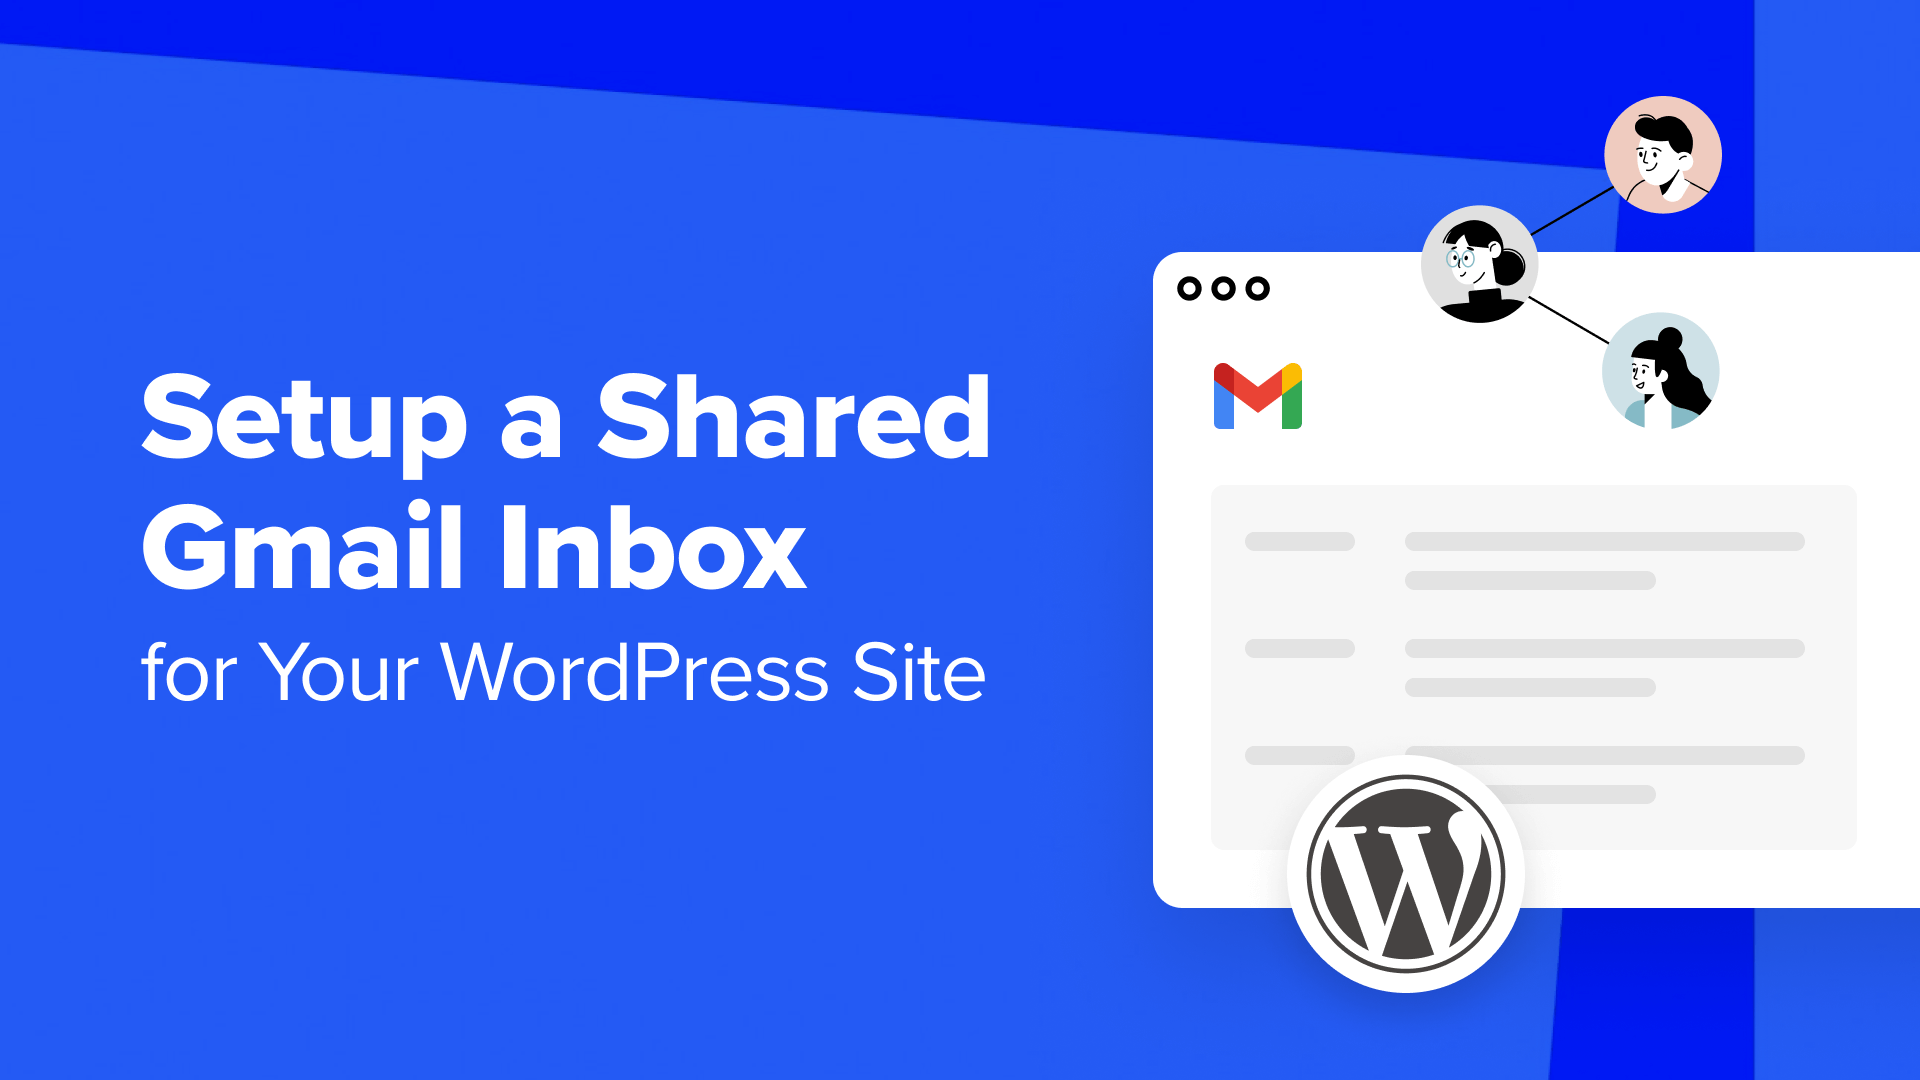
Two Effective Methods to Implement a Shared Gmail Inbox for WordPress
Establishing a shared email inbox can significantly enhance team collaboration when managing communications for your WordPress website. This approach allows multiple team members to view and respond to emails from a centralized location, ensuring no messages are overlooked.
Fortunately, implementing a shared Gmail inbox can be accomplished through either dedicated WordPress plugins or Google's built-in tools. This guide will demonstrate two practical approaches to configure a shared Gmail inbox within your WordPress environment.
Benefits of Implementing a Shared Email Inbox for WordPress
Business websites often require a shared professional email system to support daily operations effectively. Many WordPress experts utilize shared inboxes to manage high volumes of daily communications, including partnership inquiries and affiliate communications. This collaborative approach ensures team alignment and facilitates timely responses to all messages.
Numerous successful online businesses employ shared business email systems to consolidate customer inquiries and support requests, enabling faster response times and improved customer service.
Does Gmail Provide Native Shared Inbox Functionality?
Gmail does not include built-in shared inbox capabilities. While technically possible to create a new Gmail account and distribute the login credentials, this approach presents significant security concerns.
Sharing passwords increases vulnerability to unauthorized access and complicates tracking of account activity. Additionally, this method grants all team members access to every email, potentially exposing sensitive information.
Google Groups offers an alternative for creating shared inboxes. While this solution is free and relatively quick to implement, many experienced developers find it lacks the efficiency and features necessary for optimal team communication and email management.
For these reasons, this tutorial presents two superior solutions for establishing a shared Gmail inbox for your WordPress website:
- Method 1: Create a Shared Gmail Inbox Within WordPress Using a Dedicated Plugin
- Method 2: Create a Shared Gmail Inbox Using Google Groups (Free Option)
- Additional Recommendation: Enhance WordPress Email Deliverability
Method 1: Create a Shared Gmail Inbox Within WordPress Using a Dedicated Plugin
For creating a shared inbox directly within WordPress, specialized help desk plugins provide comprehensive solutions. These tools enable connection between your WordPress website and Gmail, facilitate shared inbox creation, and allow team member collaboration within the platform.
Step 1: Configure the Help Desk Plugin
Begin by selecting and purchasing a suitable help desk plugin from a reputable provider. After completing your purchase, you should receive account details, download links, and license information via email.
Access your WordPress administration area to install the plugin. Detailed installation instructions are available in standard WordPress documentation for plugin installation procedures.
Once installed and activated, you'll be prompted to enter your license key. Input the provided key and activate the license to proceed.

You'll then encounter options for adding email inboxes, typically including generic and Gmail-specific configurations. Select the Gmail option to continue with this method.

The next screen will request Google Workspace application credentials. The plugin typically provides an Authorized Redirect URI that must be entered during Google Workspace app creation. This specialized URL enables secure authentication responses between applications and authorization servers.
The following steps demonstrate how to create a Google application to obtain necessary credentials for plugin integration.

Step 2: Establish a Google Workspace Application for Plugin Integration
Navigate to the Google Cloud console website and sign in with your Google Workspace credentials if not already authenticated.
Locate and select the 'Select a project' menu option in the upper-left section of the interface.

A dialog window will appear requesting project selection. Since you're creating a new Google Workspace application specifically for plugin integration, choose 'New Project' in the window's upper-right corner.

At this stage, assign a descriptive project name for easy future identification. You'll also need to specify a storage location within Google Cloud. Selecting 'No organization' followed by clicking 'Create' typically suffices for this purpose.

Proceed to the search functionality and locate 'Gmail API.' Select this Google API once identified.

On the subsequent page, click 'Enable' to activate Gmail's capability to send and receive emails on behalf of your plugin.

Although the Gmail API is now enabled, integration with your plugin requires additional configuration. Click the 'Create Credentials' button to proceed.

Select 'Gmail API' as your API type. For data access, choose 'User data' before clicking 'Next.'

The following screen allows optional configuration of your Google consent screen, including logo upload and developer contact information. You may use your primary email address for contact details.
After completing these optional fields, select 'Save and Continue.'

The subsequent step involves permission scope configuration, which remains optional for most implementations. Many plugin developers recommend maintaining default settings for this section.


