Step-by-Step Guide to Building a Nonprofit Website with WordPress
Many charitable organizations recognize the importance of establishing a strong online presence to advance their missions. A well-designed website serves as a central hub for connecting with supporters, raising awareness, and facilitating donations.
Creating an effective website for a nonprofit organization can seem challenging, especially for those without technical experience. However, with the right approach and tools, it's possible to build a professional site that supports your goals without requiring extensive resources.
This comprehensive guide walks through the process of establishing a nonprofit website using WordPress. The platform offers flexibility and accessibility, making it suitable for organizations of various sizes and technical capabilities.
The Importance of a Nonprofit Website
For charitable organizations, a website serves multiple essential functions. It provides a platform to share your story, engage with potential donors, recruit volunteers, and demonstrate the impact of your work.

A well-executed website can expand your reach beyond local communities, allowing you to connect with supporters globally and raise awareness on a larger scale.
While the prospect of building a website may appear complex, numerous resources and tools exist to simplify the process. Many experienced developers have successfully created nonprofit websites using accessible platforms.

Developing an effective charitable website doesn't necessarily require substantial financial investment or technical expertise. By following structured guidance, organizations can create compelling online platforms that support their missions.
A thoughtfully designed nonprofit website typically offers these advantages:
- Accessible Learning Curve: Clear, step-by-step instructions make the process manageable for users without technical backgrounds.
- Efficient Setup: Modern tools enable relatively quick installation and configuration, allowing organizations to establish their online presence promptly.
- Cost-Effective Operation: Various budget-friendly solutions help minimize expenses, allowing more resources to be directed toward charitable activities.
- Simplified Maintenance: User-friendly platforms reduce the ongoing technical requirements for site management.
The following sections outline the process for creating a nonprofit website using WordPress. You can navigate through the tutorial using these sections:
- Step 1: Selecting a Website Platform
- Step 2: Establishing Your Website Foundation
- Step 3: Installing WordPress
- Step 4: Choosing a WordPress Theme
- Step 5: Creating a Custom Home Page
- Step 6: Adding Additional Pages
- Step 7: Implementing Contact Forms
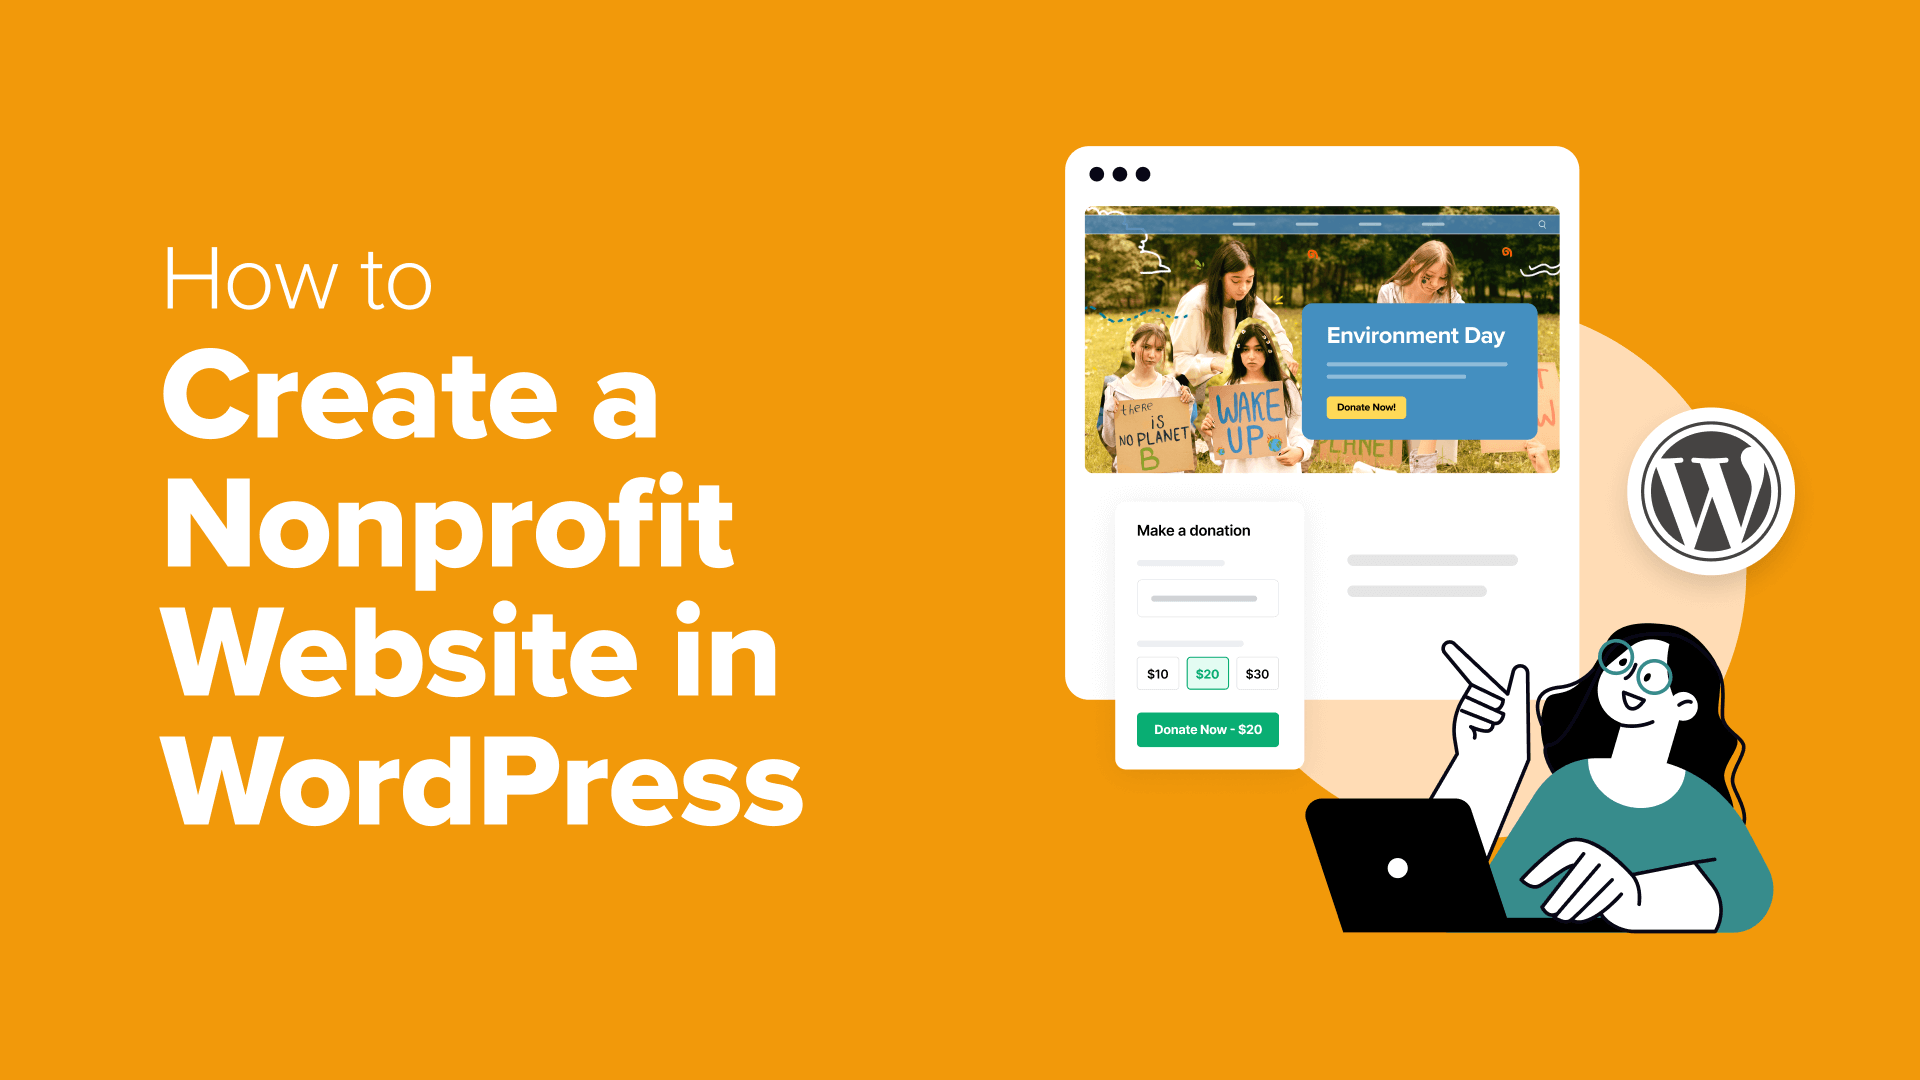
- Step 8: Setting Up Online Donations
- Step 9: Creating an Events Calendar
- Step 10: Integrating Social Media
- Step 11: Configuring Navigation Menus
- Next Steps: Expanding Your Website's Impact
Step 1: Selecting a Website Platform
Choosing an appropriate platform represents a crucial first step in creating an effective nonprofit website. Many organizations seek solutions that balance functionality with cost-effectiveness.
WordPress frequently serves as a suitable choice for charitable organizations due to its flexibility, extensive feature set, and accessibility. The platform accommodates various needs while remaining manageable for users with different technical backgrounds.
As an open-source solution, WordPress can be downloaded and implemented without licensing fees. This approach helps organizations allocate more resources directly toward their missions rather than technical infrastructure.
Beyond its cost advantages, WordPress offers substantial functionality through its extensive plugin ecosystem. These add-ons extend the platform's capabilities, with thousands available through official repositories. Many plugins specifically address nonprofit requirements, including donation management and volunteer coordination tools.

Numerous WordPress themes designed specifically for charitable organizations are available, many at no cost. These templates provide professional designs that can be customized to reflect an organization's identity and mission.

WordPress's widespread adoption means organizations benefit from extensive community support and documentation. The platform's popularity among various website types, including many nonprofit organizations, demonstrates its reliability and versatility.
When considering WordPress, it's important to understand the distinction between two available versions. The hosted WordPress.com platform provides a simplified approach where the service manages technical infrastructure. Alternatively, WordPress.org represents the self-hosted version that offers greater control and customization options.
For organizations seeking maximum flexibility, the self-hosted WordPress.org version typically provides more extensive capabilities, particularly regarding plugin installation and theme customization.
Step 2: Establishing Your Website Foundation
After selecting a website platform, the next phase involves securing a domain name and web hosting service.
A domain name functions as your organization's digital address, the text visitors enter into browsers to access your site. Web hosting provides the infrastructure where your website files reside and become accessible online.
While WordPress software itself doesn't require payment, domain registration and hosting services typically involve costs. These expenses can vary depending on the specific services selected and the features required.
Domain registration generally represents an annual expense, while hosting services typically operate on monthly or annual billing cycles. Many hosting providers offer packages that include both domain registration and hosting services.
When evaluating hosting options, consider services specifically optimized for WordPress. These specialized hosting environments often provide better performance and simplified management for WordPress websites.
Security represents another important consideration, particularly for organizations planning to accept online donations. An SSL certificate helps protect sensitive information transmitted through your website. Many hosting providers include SSL certificates with their hosting packages.
To begin the setup process, visit a hosting provider's website and review their available plans. Most providers offer multiple tiers with varying features and resource allocations.
Basic plans often suffice for newly established nonprofit websites, with options to upgrade as your organization's online presence grows. When comparing plans, consider factors like storage capacity, bandwidth allowances, and included features.

After selecting a hosting plan, the next step involves choosing an appropriate domain name for your organization. A well-considered domain name supports your online identity and helps supporters locate your website.


